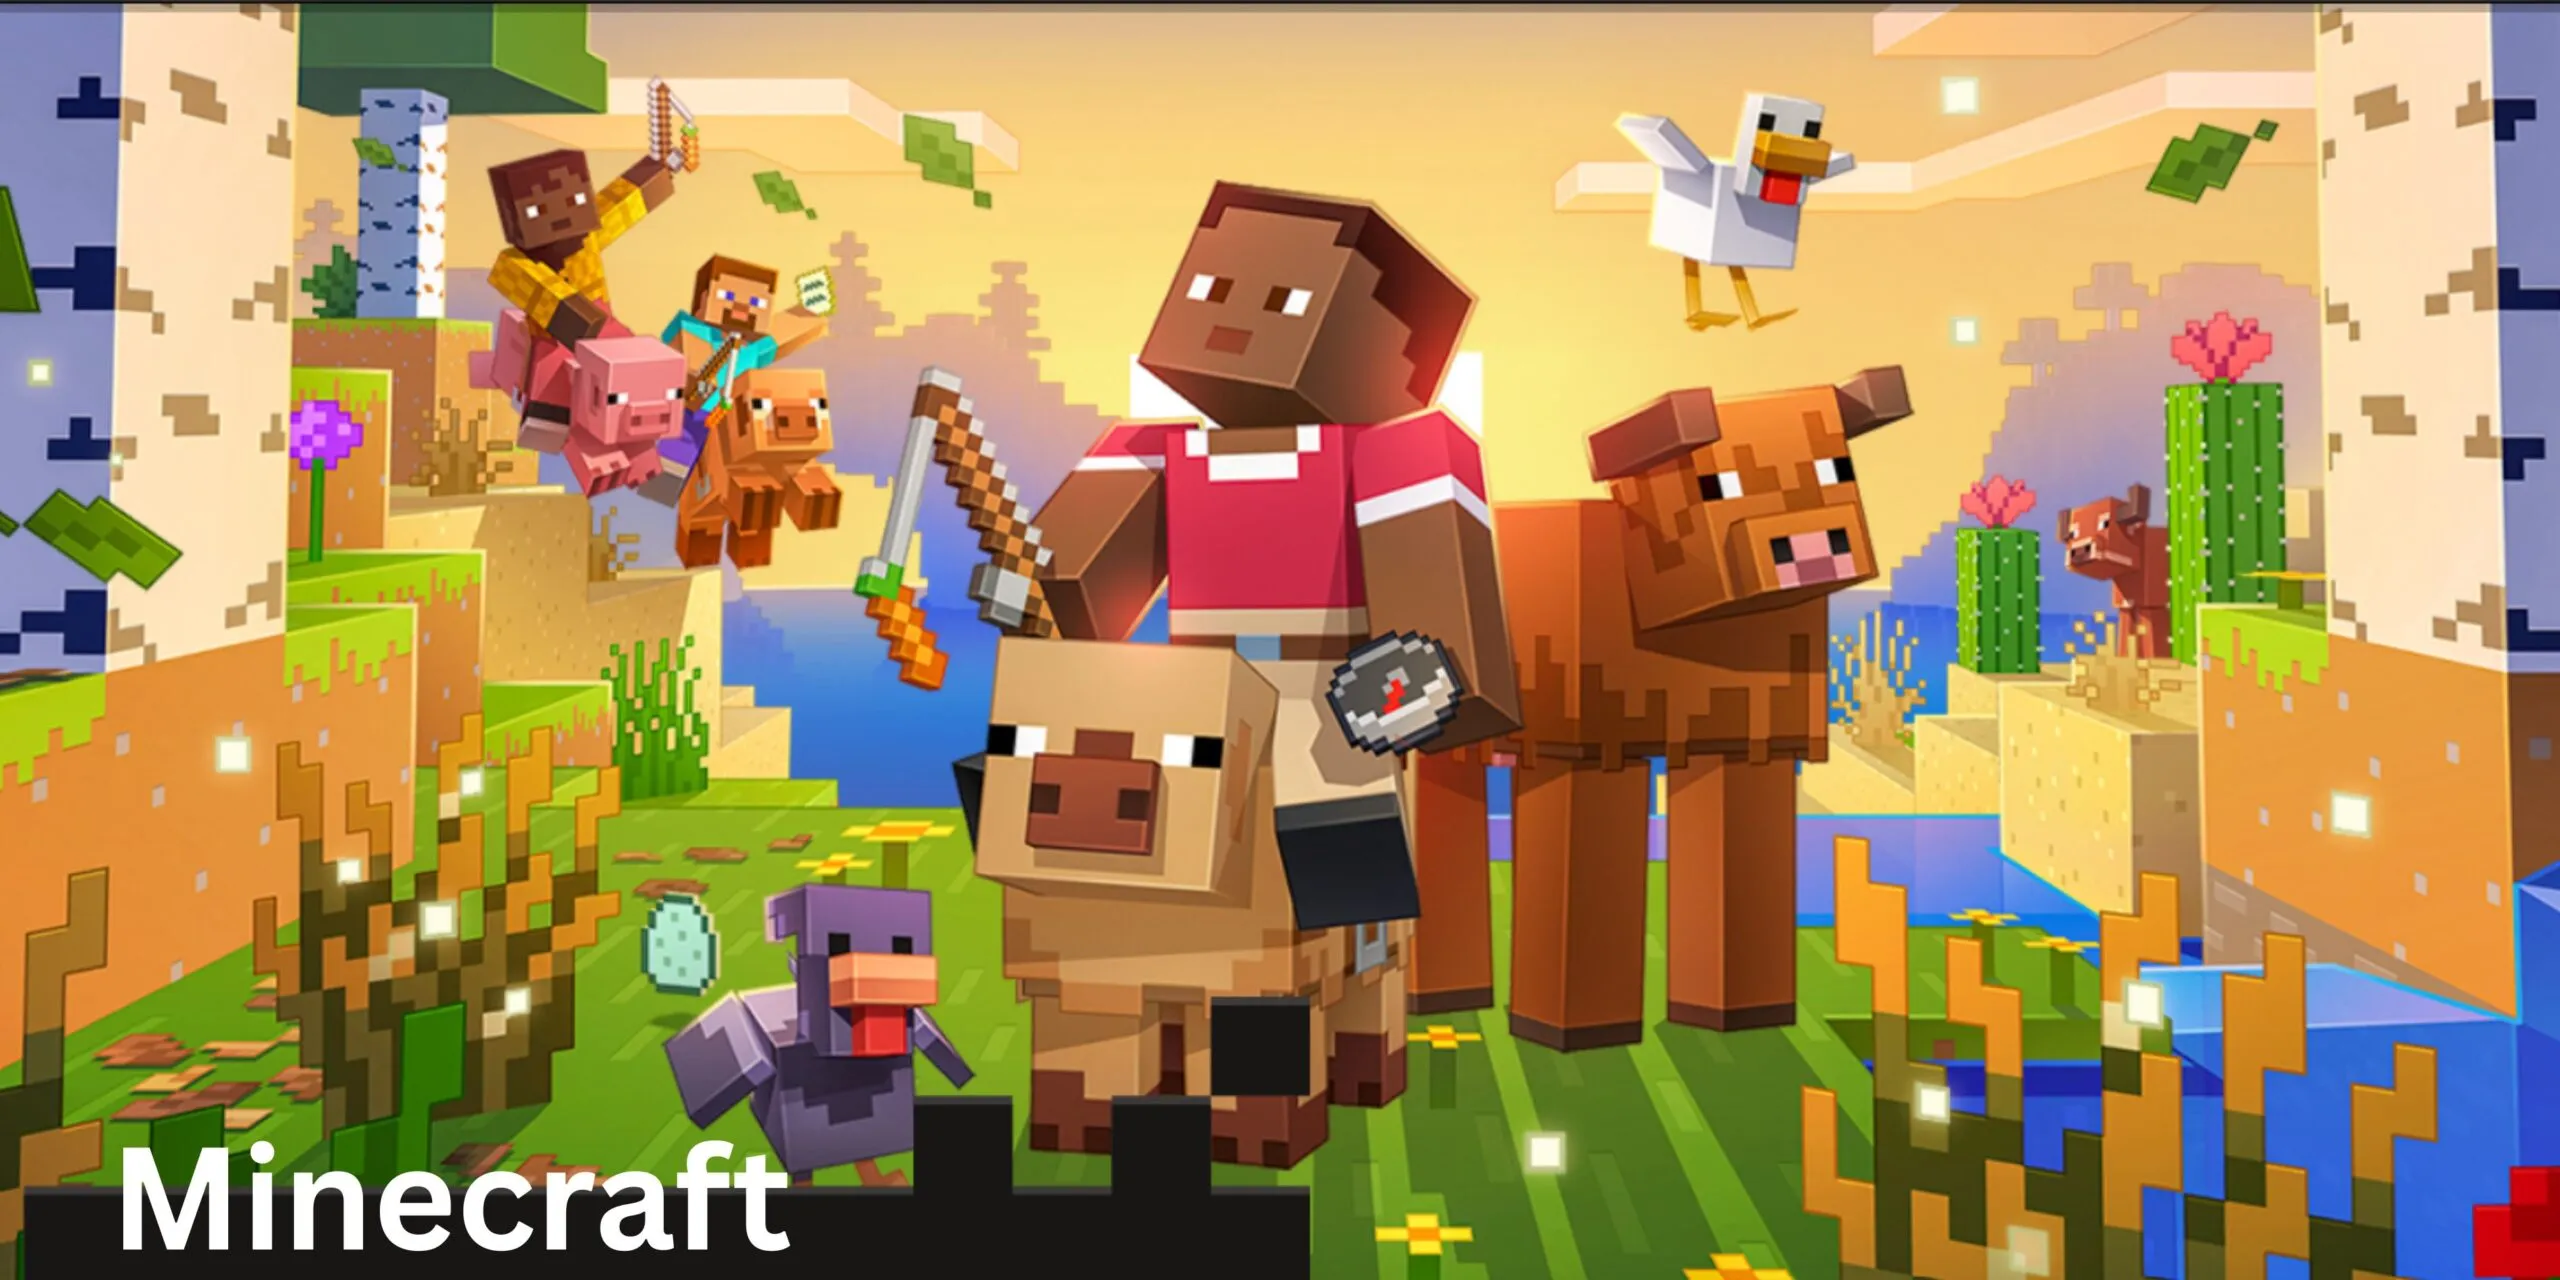
Java for Minecraft. Minecraft is a popular video game where you can build anything you imagine using blocks.Think of it like digital Lego – but with endless possibilities!
You can:
Explore big worlds full of forests, oceans, caves, and mountains.
Build houses, castles, cities, or even roller coasters.
Mine for treasures like diamonds, gold, and iron underground.
Craft tools, weapons, and other items to survive.
Fight monsters like zombies and skeletons.
Create farms for animals and crops.
There are no strict rules — you can play however you want.Minecraft is becoming popular in kids and adults as well, in this article we will see how to install and download Java for Minecraft in step by step.
Step 1: Check if Java is Already Installed
Open Command Prompt (Windows) or Terminal (Mac/Linux).
Type: java -version
If you see a Java version (like java version “17.0.1”, Java is installed.
If you see an error like ‘java’ is not recognized, you must install it. Proceed to Step 2 for how to download and install Java
Step 2: Java for Minecraft Download
You can download Java for minecraft free from the official Java website. Minecraft requires Java 17 or newer versions. Click below button to download java free. Choose the installer based on your system (Windows, macOS, or Linux). For Windows os download jdk-17.0.14_windows-x64_bin.exe, for MacOs downloadmacOS x64 DMG Installer
Once you have downloaded java edition minecraft now its time to install the Java. Go to Step 3
Step 3: Install Java for Minecraft
For Windows:
- Open the downloaded .msi or .exe file. (jdk-17.0.14_windows-x64_bin.exe)
- Click Next to start the installation.
- Accept the license agreement. Choose the installation folder (default is fine).
- Click Install. After installation, click Finish.
For macOS:
- Open the downloaded .dmg file and follow the on-screen instructions to install Java.
For Linux:
Use your package manager. Example for Ubuntu:
sudo apt update
sudo apt install openjdk-17-jdk
Once you have installed Java on your system, check the java version to verify Java installation using java -version
Step 4: Set JAVA_HOME Environment Variable (Optional)
In the below step we can see how to set JAVA_HOME environment variable in different OS.
Windows: (how to set java home path in windows)
Search for Environment Variables in the Start menu
Under System Variables, click New.
Set:
Variable Name: JAVA_HOME
Variable Value: Java install path (e.g.,C:\Program Files\Java\jdk-17.0.4.1\)
macOS/Linux:
Add below to ~/.bash_profile or ~/.bashrc:
export JAVA_HOME=/path/to/your/java
export PATH=$JAVA_HOME/bin:$PATH
- Then run: source ~/.bash_profile
Step 5 : Launch Minecraft
Open the Minecraft Launcher.
Go to Installations > New Installation.
Under More Options, check the Java Executable path (optional).
Start playing Minecraft Java Edition!
Summary
Always install Java 17 for the best Minecraft experience.
Use trusted sources like Oracle.
Setting JAVA_HOME is optional but helps with modding.
Now you’re ready to build, explore, and survive in Minecraft!


